103 Minimal RV32E SoC with UART Loader
103 : Minimal RV32E SoC with UART Loader
- Author: Kris / KLuterIRV
- Description: Minimal RV32E microcontroller with UART program loader, internal instruction memory, GPIO and configurable 7-segment output
- GitHub repository
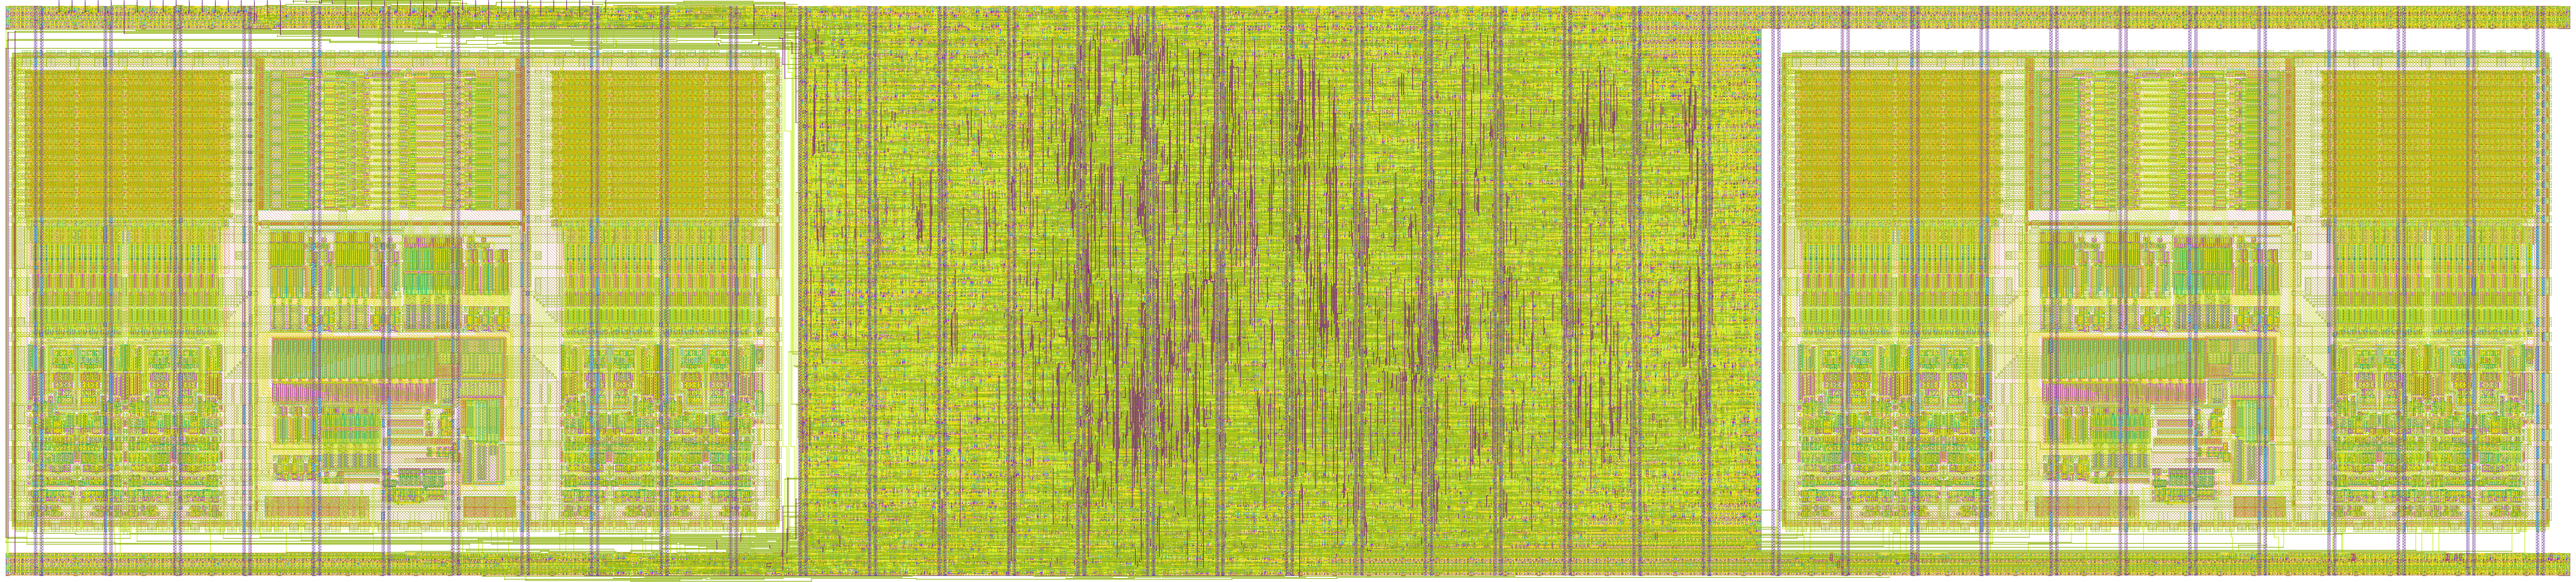
- Open in 3D viewer
- Clock: 20000000 Hz
Minimal RV32E SoC with UART Loader
This project implements a minimal RV32E-based microcontroller for Tiny Tapeout.
Features
- Simplified RV32E CPU core
- 16 x 32-bit register file
- Internal instruction memory, programmable through UART
- Internal data memory and memory-mapped peripherals
- UART RX program loader
- UART TX output
- Shared 8-bit GPIO / seven-segment output
- Configurable seven-segment mode:
- GPIO mode
- HEX mode
- ASCII mode
- RAW segment mode
ebreak-based halt/debug signal
Pinout
| Pin | Function |
|---|---|
ui_in[0] |
Boot mode enable |
ui_in[1] |
UART RX |
uo_out[7:0] |
GPIO output or seven-segment output |
uio_out[0] |
UART TX |
uio_out[1] |
Core halted debug |
uio_out[2] |
Loader done debug |
uio_out[3] |
Loader error debug |
How it works
On reset, the design can operate in two modes depending on ui_in[0].
When ui_in[0] = 1, the system enters boot mode. In boot mode, the RV32E core is held at PC = 0 while the UART loader receives a program through ui_in[1]. The loader writes 32-bit instruction words into the internal instruction memory. When the loader finishes, loader_done_debug is asserted and the core starts executing from address 0x00000000.
When ui_in[0] = 0, the core starts directly from its internal instruction memory. The instruction memory contains a default demo program that writes characters to the seven-segment output.
The CPU is a simplified RV32E core with 16 integer registers. It supports arithmetic, logic, shifts, branches, jumps, loads, stores, LUI/AUIPC, and an ebreak-based halt mechanism.
The output uo_out[7:0] is shared between normal GPIO mode and seven-segment display mode. The seven-segment peripheral supports HEX, ASCII and RAW segment patterns.
The UART loader protocol is:
0x55
N_WORDS
WORD0 byte0
WORD0 byte1
WORD0 byte2
WORD0 byte3
...

Words are transmitted little-endian. For example:

0x100000B7 -> B7 00 00 10


## How to test

To test the default demo, keep ui_in[0] = 0, apply reset, and clock the design. The core should start executing the internal demo program and drive uo_out[7:0] with seven-segment ASCII patterns.

To test UART program loading:

Set ui_in[0] = 1 to enable boot mode.
Send the UART sync byte 0x55 to ui_in[1].
Send the number of 32-bit words.
Send each instruction word little-endian.
Wait for uio_out[2], which indicates loader_done_debug.
The core will then execute from PC = 0.

Useful pins:

Pin	Function
ui_in[0]	Boot mode
ui_in[1]	UART RX
uo_out[7:0]	GPIO / seven-segment shared output
uio_out[0]	UART TX
uio_out[1]	Core halted debug
uio_out[2]	Loader done debug
uio_out[3]	Loader error debug
External hardware

The design can be tested using a USB-UART adapter connected to ui_in[1] for RX and uio_out[0] for TX.

The seven-segment output is active-high by default. If the target display is active-low, the firmware can enable the active-low mode in the seven-segment control register.

Memory map
Address	Register
0x1000_0000	GPIO output
0x1000_0004	Seven-segment data
0x1000_0008	Seven-segment control
0x1000_0100	UART TX data
0x1000_0104	UART status
0x1000_010C	UART RX data
Seven-segment control

SEVENSEG_CTRL bits:

Bit	Meaning
0	Enable seven-segment output
1	ASCII mode
2	RAW mode
3	Active-low output
IO
| # | Input | Output | Bidirectional |
|---|---|---|---|
| 0 | sram_we | sram_rdata[0] | sram_wdata[6] |
| 1 | sram_addr[0] | sram_rdata[1] | sram_wdata[7] |
| 2 | sram_wdata[0] | sram_rdata[2] | sram_addr[1] |
| 3 | sram_wdata[1] | sram_rdata[3] | sram_addr[2] |
| 4 | sram_wdata[2] | sram_rdata[4] | sram_addr[3] |
| 5 | sram_wdata[3] | sram_rdata[5] | sram_addr[4] |
| 6 | sram_wdata[4] | sram_rdata[6] | sram_addr[5] |
| 7 | sram_wdata[5] | sram_rdata[7] |