Wirebonding behind the scenes
From die placement to finished chip-on-board assembly, step by step.
Tiny Tapeout Team
•24 March 2026
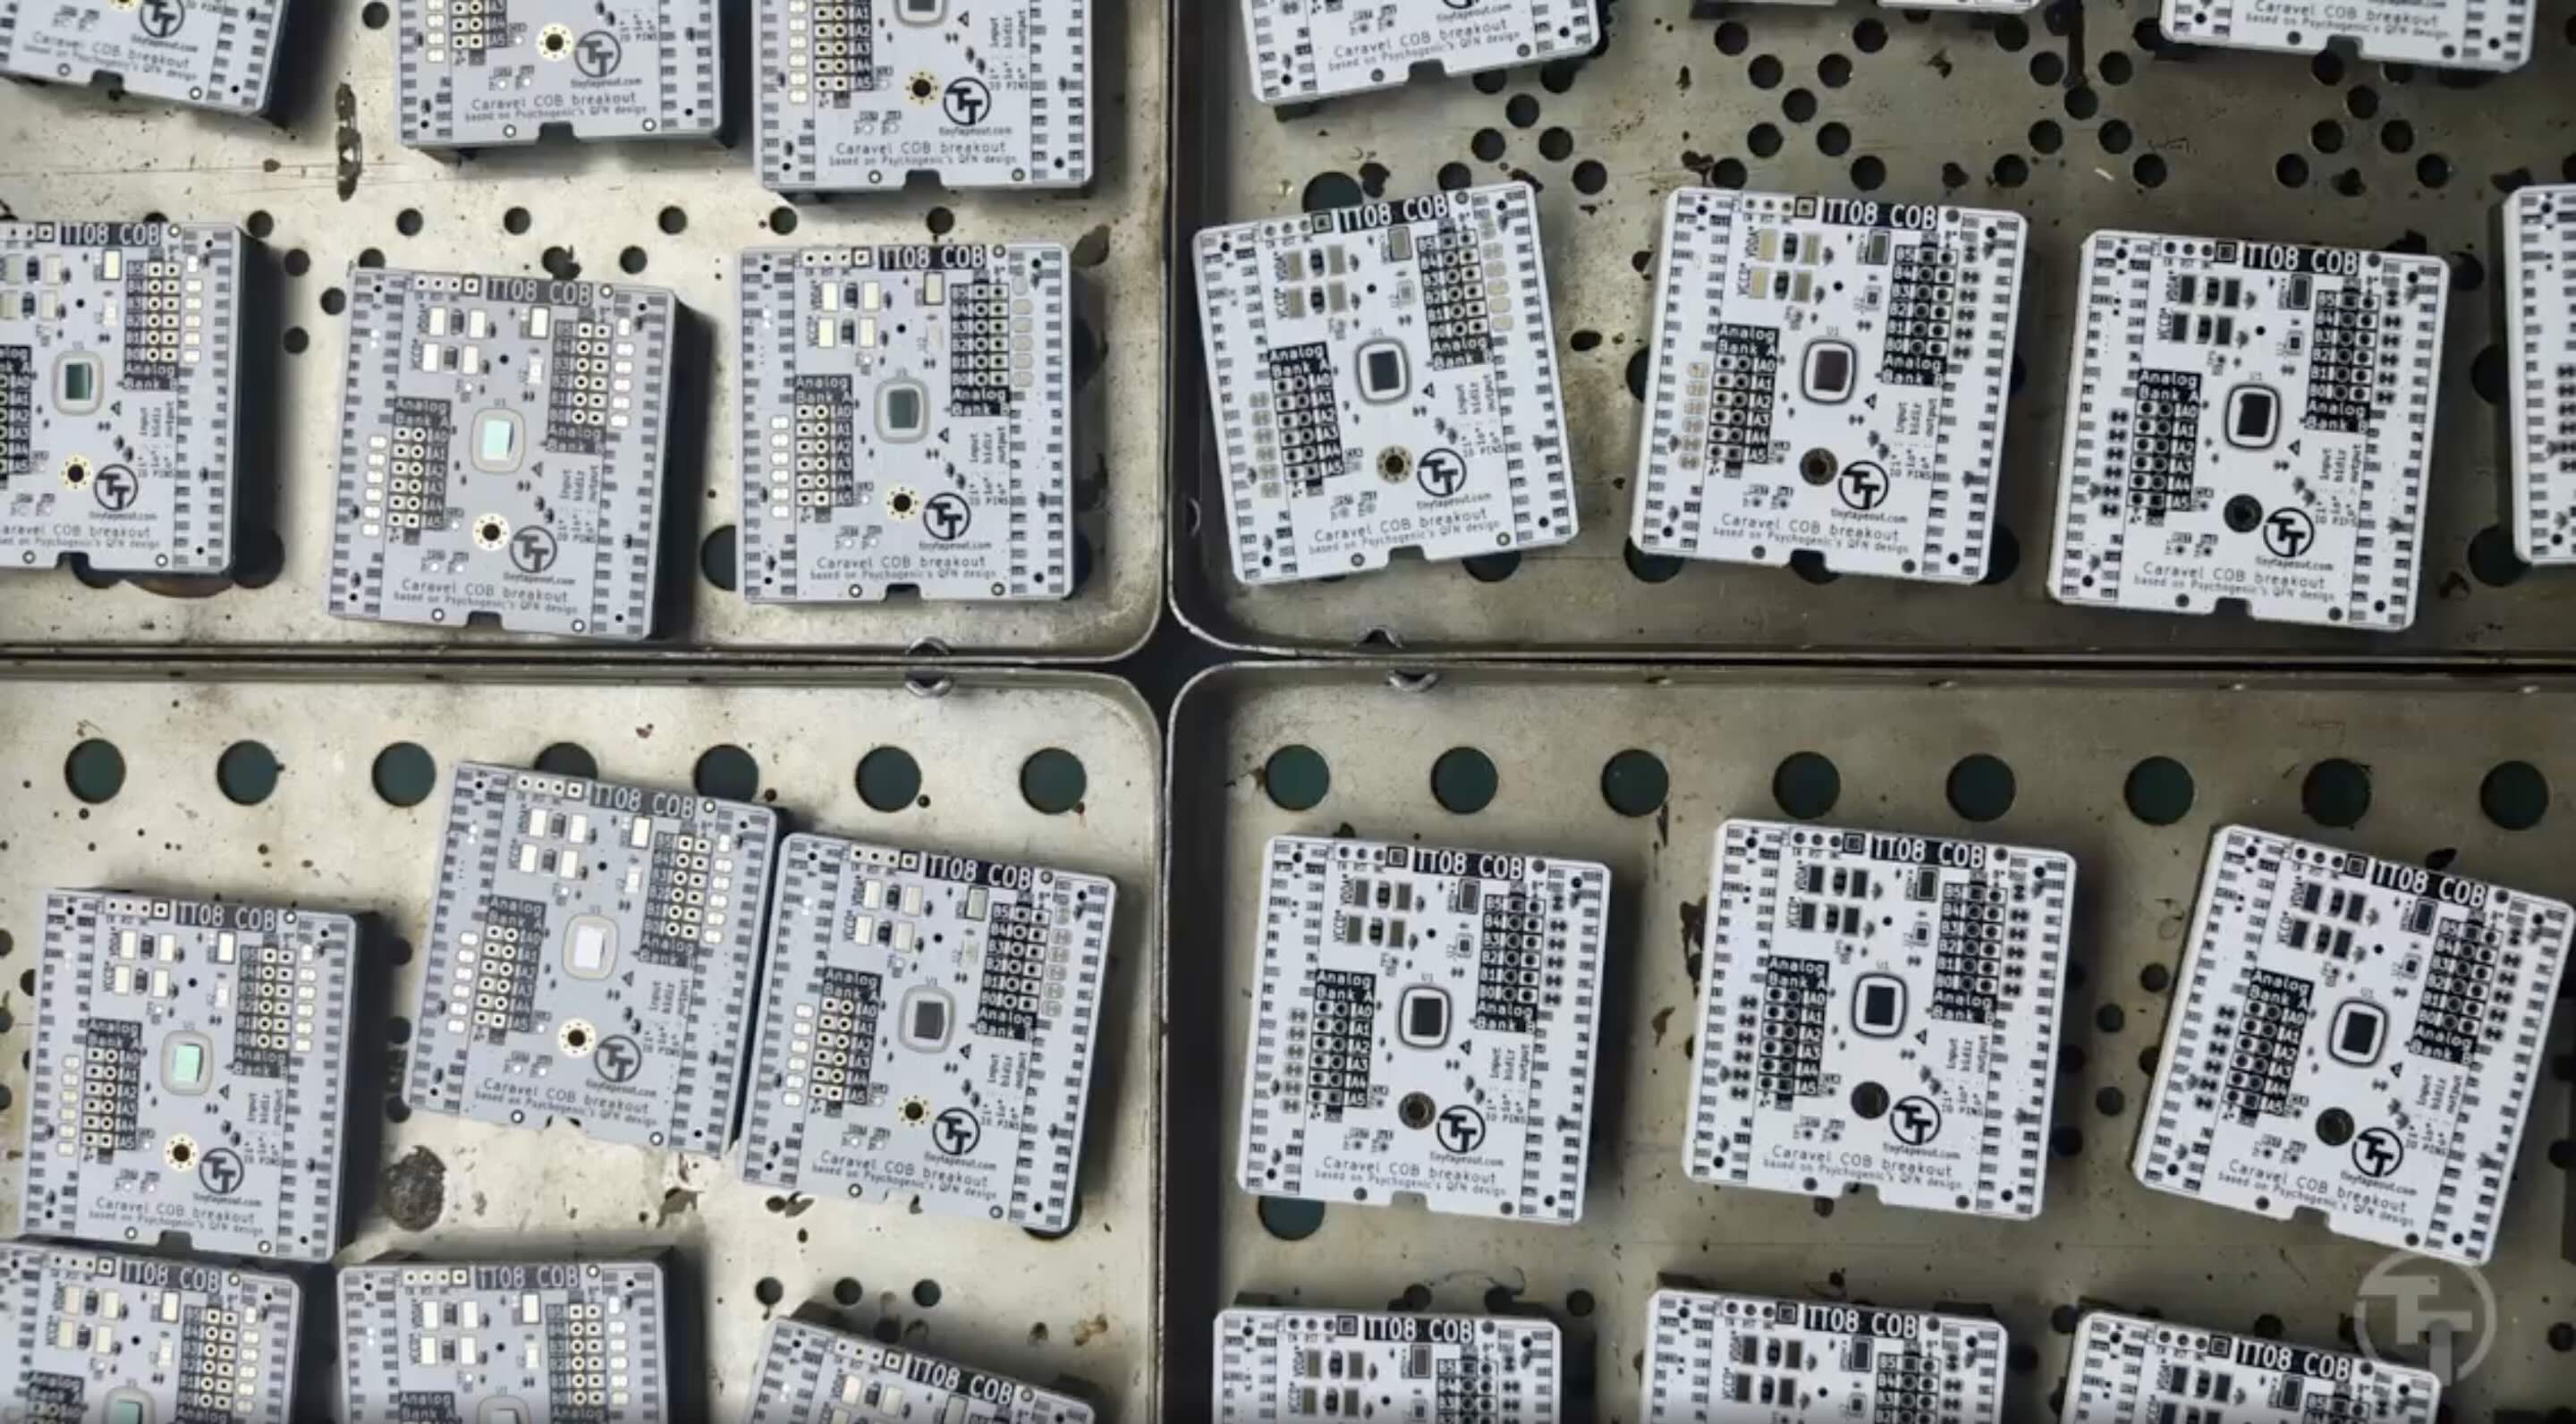
Chip on board wirebonding
A lot of you have asked about our lovely chip-on-board wirebonding.
Here’s how it actually works!
The Process
The COB (chip-on-board) is loaded into a jig, and the wirebonding machine is calibrated for the chip pads. The die is carefully positioned and glued to the PCB, forming the chip-on-board.
The wirebonder then connects hundreds of microscopic wires from the chip to the PCB traces. And here’s the impressive part: the machine can do the whole chip in one go, automatically connecting every pad without human intervention.
Once the wirebonding is complete, a clear epoxy is applied to protect the die from damage and contamination.
The Result
The finished boards are ready for testing. From bare die to working chip-on-board, it’s a meticulous process that turns silicon into something you can actually use.
Watch the video here.
If you enjoyed this article, please consider signing up to our newsletter below.
Last modified by Uri Shaked on 8 September 2026. Commit f595bfc. Suggestions?